Printing Power: Choosing the Right DPI for Your Photos

screen printing of cityscapes

Image Source: Adobe Stock

In photography, achieving crisp, high-quality prints hinges on more than just the number of megapixels your camera boasts. While many assume megapixels are the sole factor of print quality, another crucial factor, DPI (dots per inch), plays a pivotal role. But what is DPI exactly, and why does it matter for printing photos? It is essential for translating your digital images into stunning physical prints.

At The Photography Institute (PI), we offer professional courses covering expert photography skills that empower individuals to enhance their portfolio. Our institute provides unique, interactive programs taught by experienced professionals who can help you kick-start your career in photography.

DPI vs. PPI: Understanding Image Resolution

When delving into image resolution, it's vital to differentiate between DPI (dots per inch) and PPI (pixels per inch).

  • PPI (Pixels Per Inch): This term refers to the number of pixels per inch in a digital image. PPI determines the detail and resolution visible on digital screens, such as monitors and camera sensors. A higher PPI means finer image detail.
  • DPI (Dots Per Inch): DPI comes into play when printing. It translates the PPI of a digital image into a physical print size by determining how many ink dots are placed per inch on paper.

Understanding what DPI is and how it differs from PPI is crucial for photographers aiming to produce high-quality prints.
A pattern of golden pixels forming a sparkling effect on a black background

Image Source: Adobe Stock

Finding the DPI Sweet Spot: Balancing Quality and File Size

Achieving the ideal balance between print quality and file size involves finding the "DPI sweet spot." While it's tempting to use the highest DPI possible, excessively high DPI can result in unnecessarily large files without a noticeable improvement in print quality.

  • Standard Printing Resolutions:
  • 300 DPI: Ideal for professional-quality prints.
  • 150 DPI: Acceptable for everyday prints without compromising too much on quality.

Striking the right balance ensures that your prints are sharp without slowing down your system with massive files.

Image Size vs. Print Size: Making the Math Easy

Calculating the appropriate print size based on your image size and desired DPI can be simplified with an easy-to-follow formula:

Print Size (in inches) = DPI / Image Dimension (in pixels)​

  • For example, if your image is 3000 pixels wide and you want to print at 300 DPI:
  • Print Width = 300 / 3000​ = 10 inches

Utilizing online DPI calculators can also help streamline this process.

Optimizing} Photos for Printing: Sharpening Up Your Workflow

To ensure your photos are print-ready, follow these steps in your editing software:
  1. Sharpening Tools: Enhance detail to counteract any softness.
  2. Color Profiles: Use calibrated color profiles for printing to maintain accurate color reproduction.
  3. Printing Paper: Choose the right type based on your image content and desired finish (e.g., glossy, matte).
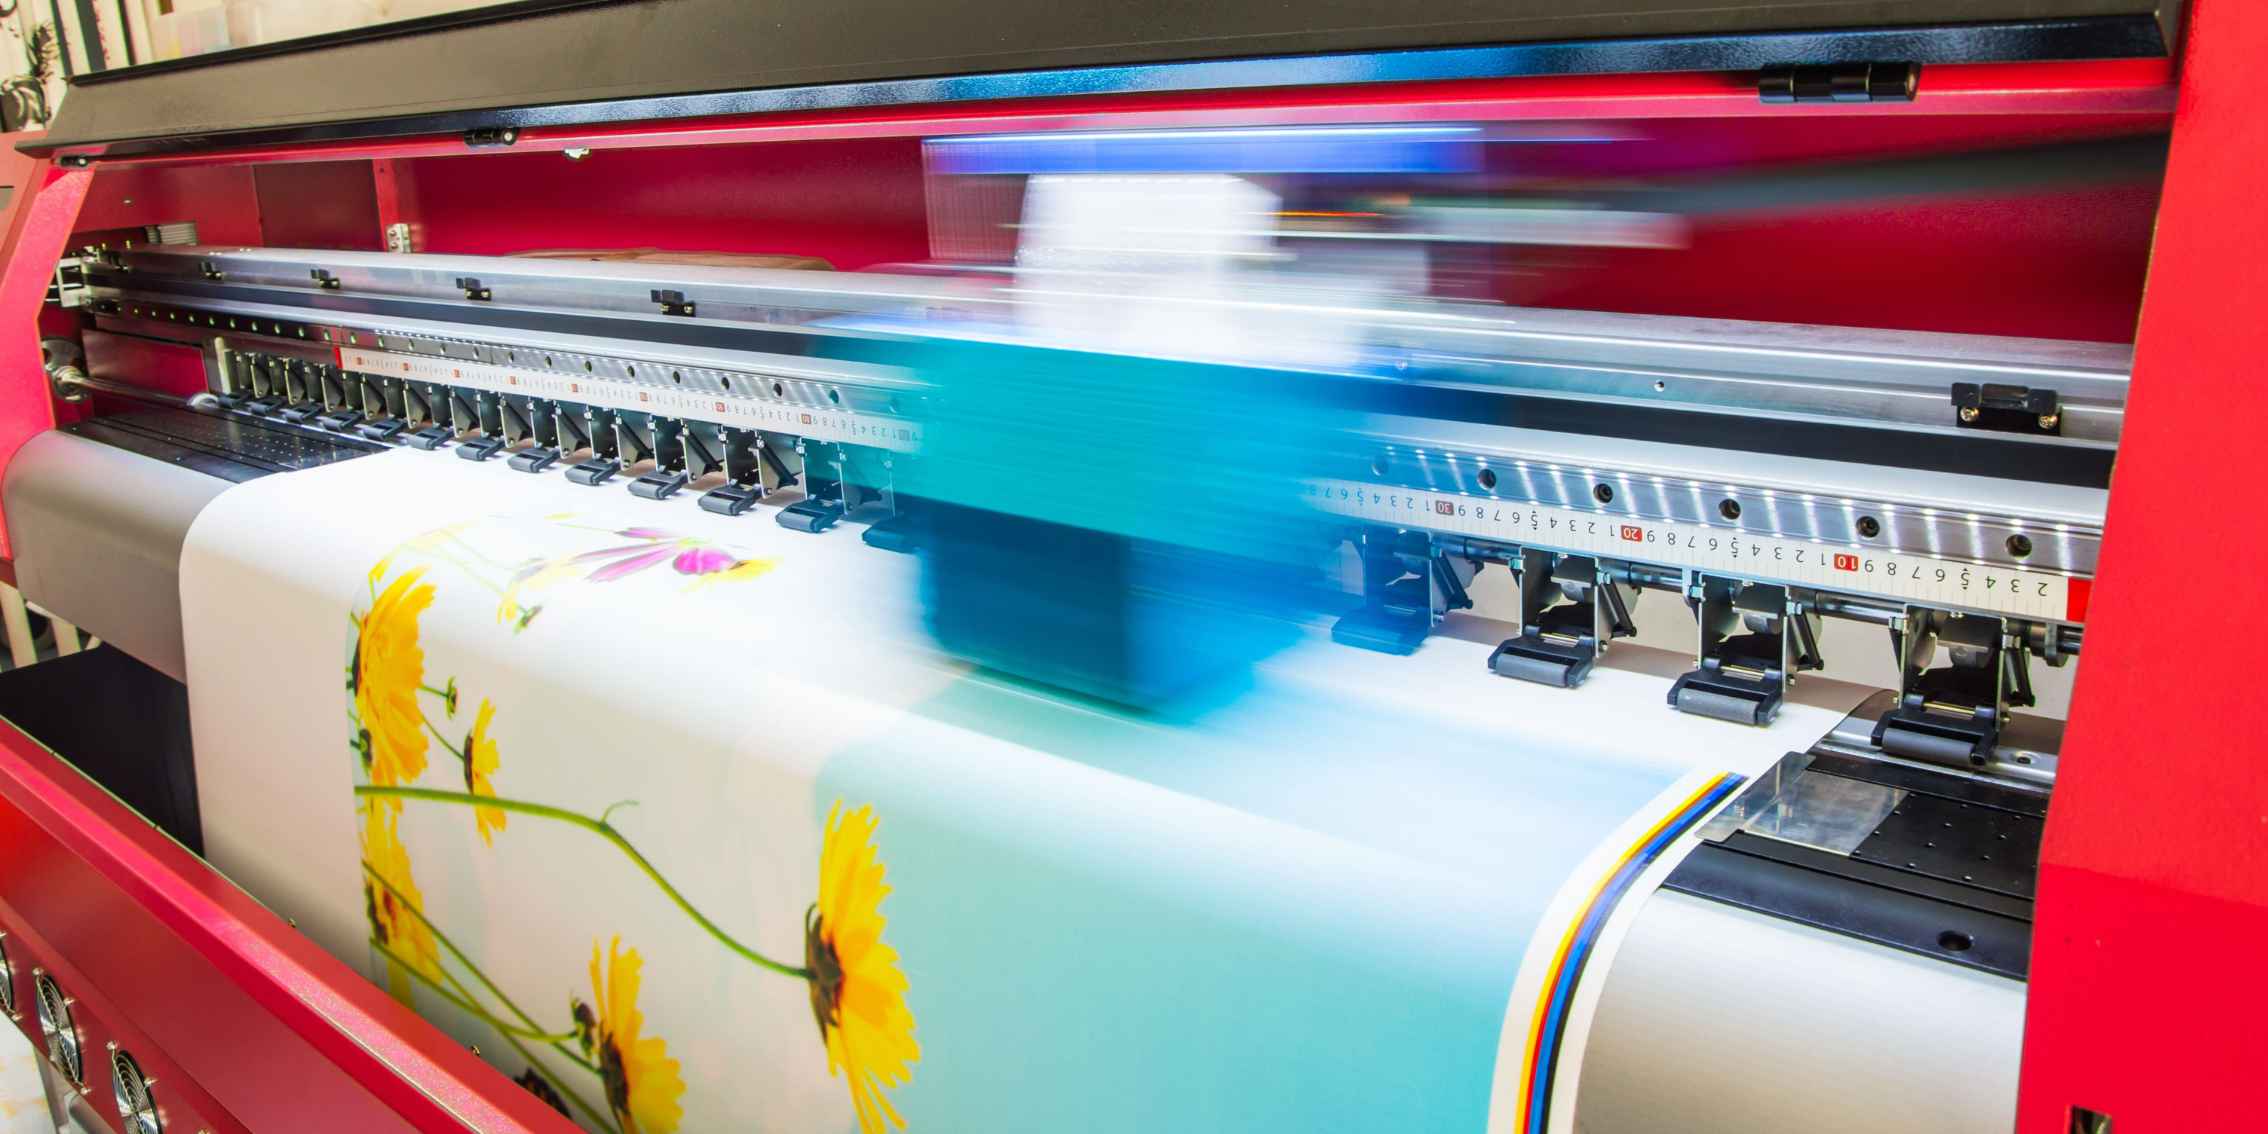
Large format printer printing a floral pattern on a white canvas

Image Source: Adobe Stock

Beyond the Basics: Advanced DPI

For those interested in diving deeper into the technical aspects of printing, there are several advanced topics worth exploring that can significantly enhance the quality of your prints.

  • Interpolation: This technique is essential when you need to resize your images without compromising their quality. Interpolation involves adding or removing pixels in a way that preserves the image’s overall appearance. By mastering interpolation, you can effectively enlarge your photos for larger prints or downsize them for smaller prints while maintaining sharpness and detail. Different software programs offer various interpolation algorithms, such as bicubic or Lanczos, each suitable for different types of images and resizing needs.
  • Color Management: Ensuring accurate color reproduction is a critical aspect of professional printing. Color management involves using ICC profiles to calibrate your monitor and printer, ensuring that the colors you see on your screen match those on your final print. This process includes understanding and working with color spaces (such as sRGB, Adobe RGB, and ProPhoto RGB), which dictate the range of color your devices can display and print. Advanced color management also involves soft proofing, a technique that simulates how your print will look under specific lighting conditions, helping you make precise adjustments before the actual printing process.

By exploring these advanced techniques, you can take your printing skills to the next level, producing prints that are not only visually stunning but also technically superior.
A computer monitor displaying a colourful abstract painting, with a smartphone and a cup of coffee on a nearby table.

Image Source: Daniel Korpai - Unsplash

Unlock Your Potential with PI

Understanding what DPI is and how it affects your photos is crucial for creating professional-looking prints. By experimenting and optimizing your photos, you can transform your digital images into stunning physical displays and art pieces. Our online course equips you with the skills to confidently implement these strategies and more.

Explore a Photography Course

Our online photography course delves deep into image editing and quality control, giving you the confidence that all your photos are at the highest professional standards. Discover the flexible learning options and make sure your pictures are at industry standards, study and benefit from the expertise of PI’s professional tutors. Explore our courses today and unlock your full potential in the art of photography.

Photography Blog Posts

Embark on a journey of inspiration, creativity, and expertise through our array of Photography blog posts featuring insights, student showcases, and expert tips.

Blog POsts

Contact Us

Complete the form below, and we will get back to you as soon as possible.


Download our free prospectus