
Image Source: iStock
Lighting is one of the most critical elements in studio photography. The quality, direction, and intensity of light can dramatically transform your images, bringing depth, texture, and emotion to your compositions. Understanding the differences between natural and artificial light and knowing how to use them effectively can elevate your studio photography to a professional level.
In this guide, we’ll explore the benefits and challenges of natural and artificial light, their applications in studio lighting photography, and how to create balanced setups tailored to your space and needs.
Natural light offers a dynamic and often cost-effective option for studio photography. Its characteristics change with the time of day, season, and weather, providing diverse opportunities for creativity.
Natural light offers unique advantages that make it a favourite among photographers:
Harnessing sunlight is free and doesn’t require additional equipment, making it accessible for any budget.
The natural shifts in light throughout the day bring depth and emotion to your images, creating a lifelike and engaging atmosphere.
Overcast skies or shaded areas naturally diffuse sunlight, producing even illumination with gentle shadows—ideal for flattering portraits and intricate details.
Understanding the variables that influence natural light helps you make the most of it for studio photography:
On sunny days North-facing windows in the Northern Hemisphere and South-facing windows in the Southern Hemisphere can provide relatively consistent cool light throughout the day, while east-facing windows deliver warm, golden light during the morning hours, ideal for capturing soft, glowing tones.
Morning and late afternoon light offers softer, more flattering tones with long shadows, often referred to as "golden hour." Midday light, in contrast, is direct and harsher, creating stronger contrasts but midday sunlight will be unavailable indoors unless your studio has a skylight or overhead windows.
Seasonal changes affect light quality due to atmospheric changes—winter light tends to be crisp and cool, while summer often brings warmer, more vibrant tones.
Bold and directional, casting sharp, defined shadows that create dramatic contrasts and textures.
Light that reflects off walls or other surfaces softens its intensity and reduces harsh shadows for a more even effect.
Softened by clouds, sheer curtains, or reflective surfaces, this type of light minimisesshadows and offers a gentle, flattering quality—perfect for portraits or product photography.
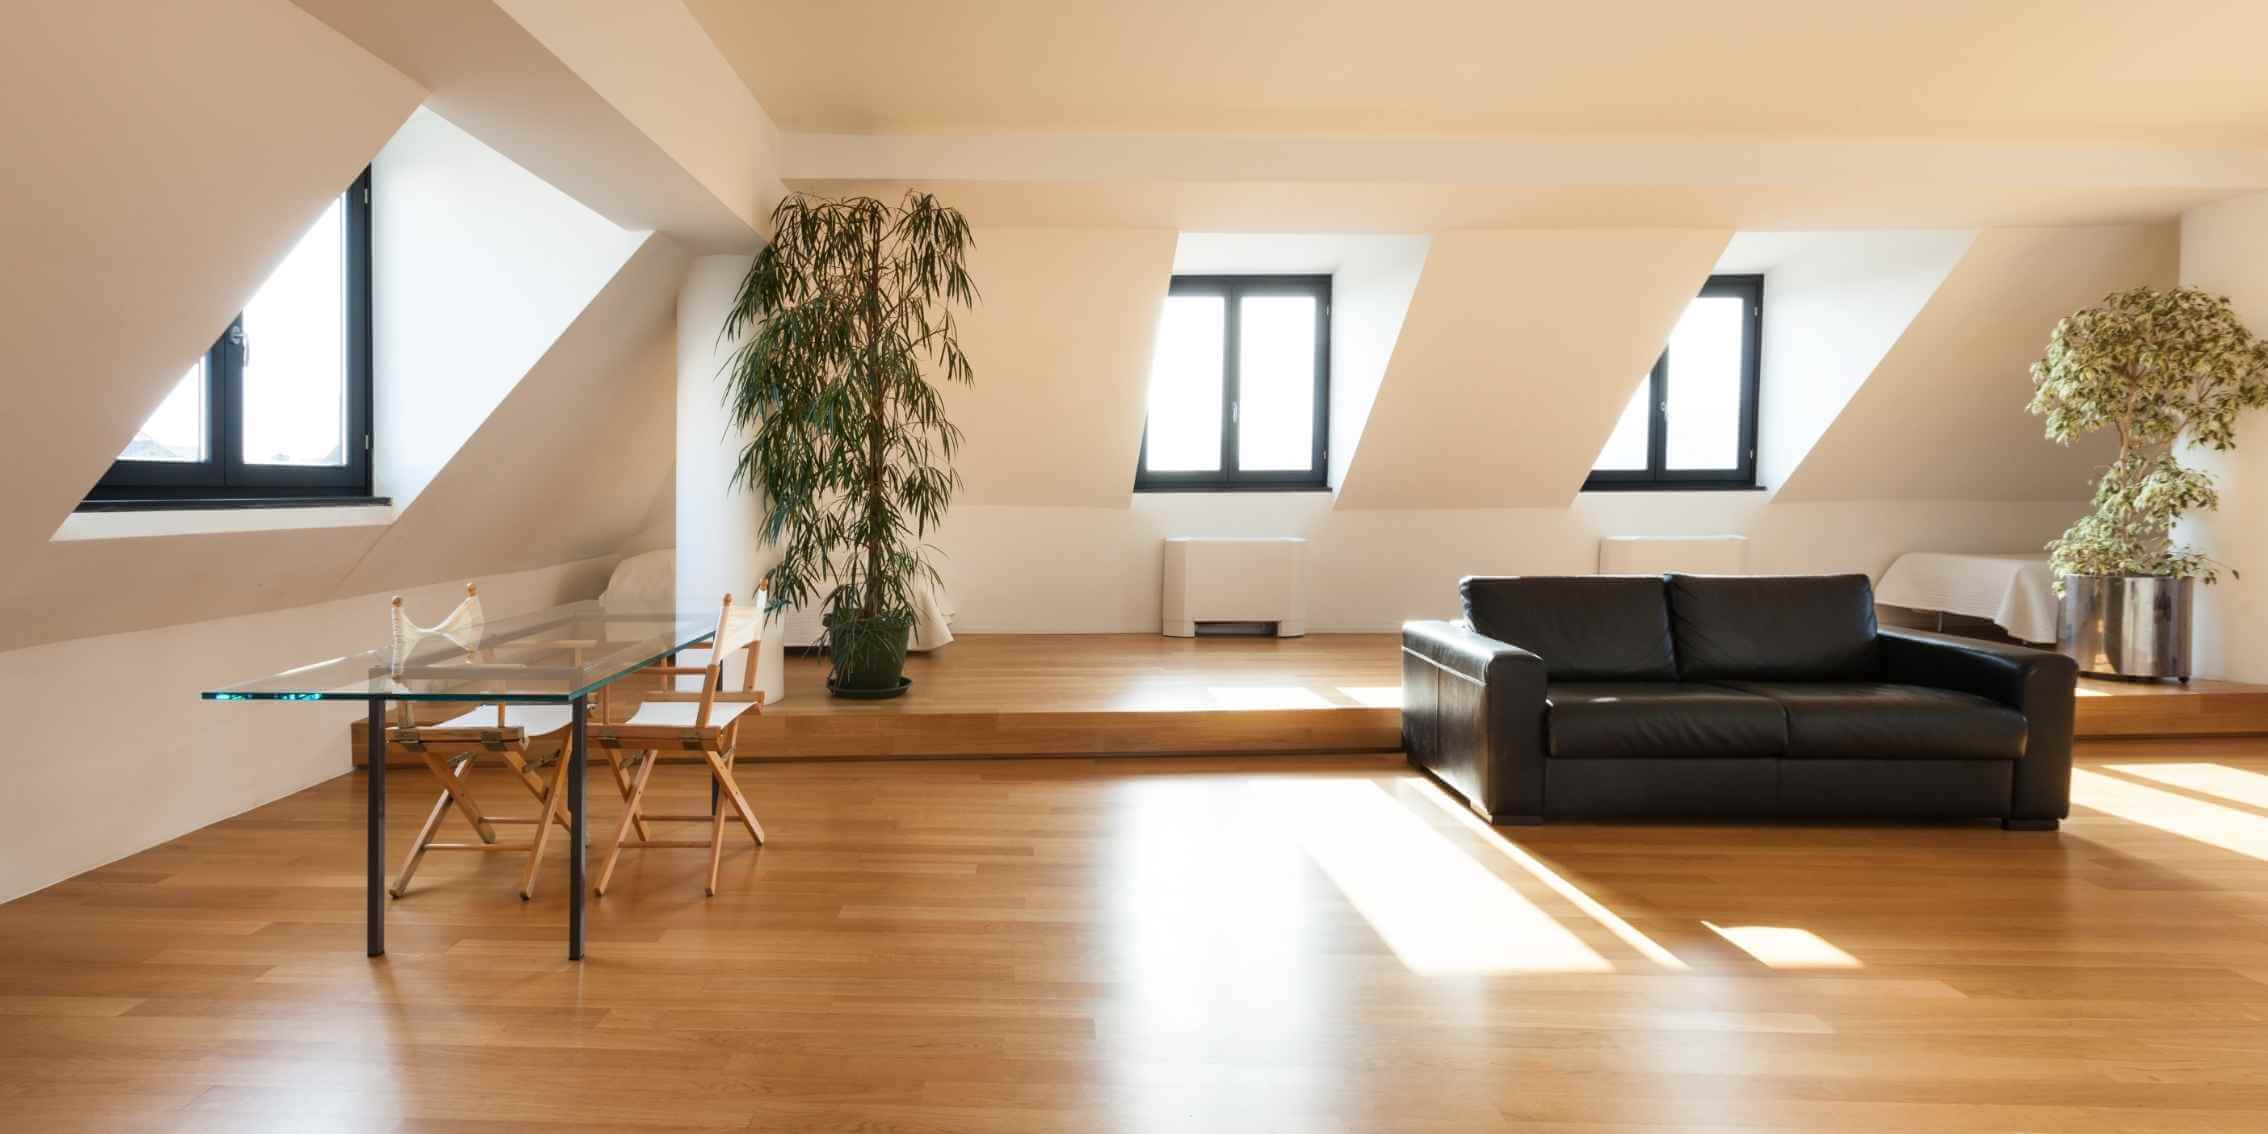
Image Source: Adobe Stock
Maximising natural light in your studio requires strategic design and the right tools to enhance its impact. Here’s how to make the most of it:
Use sheer curtains or blinds to diffuse harsh sunlight, creating a soft, even glow that’s ideal for photography. For greater control, reflective films can reduce glare, while blackout curtains allow you to block or shape the light as needed.
Mirrors, light neutral-coloured walls, and reflective boards can amplify and evenly distribute natural light, brightening your studio without adding artificial sources.
These innovative solutions bring in consistent, natural light, especially in studios with limited window access, ensuring your space remains well-lit throughout the day.
Artificial lighting provides consistency and control, making it indispensable in studio photography.
Known for their warm, cosy tones, but are hot, less energy-efficient and short-lived compared to other options.
Economical and often cooler in tone, though lower in power and prone to flickering, which can affect consistency in photography.
Highly energy-efficient, durable, and available in a wide range of colour temperatures, making them very useful for studio use.
Most traditional of all artificial light sources with the most flexibility. The wide power range comes at a very high cost.
Measured in Kelvin (K), this determines the warmth or coolness of light. Choose warmer tones (2700K–3000K) for a softer feel or cooler tones (5000K–6500K) for crisp, daylight-like brightness.
The physical size of the light impacts mood and detail clarity. Adjustable fixtures allow you to fine-tune intensity for your needs.
How light spreads across your studio influences the depth and quality of shadows and highlights. Wide beams provide even coverage, while focused beams create dramatic contrasts.
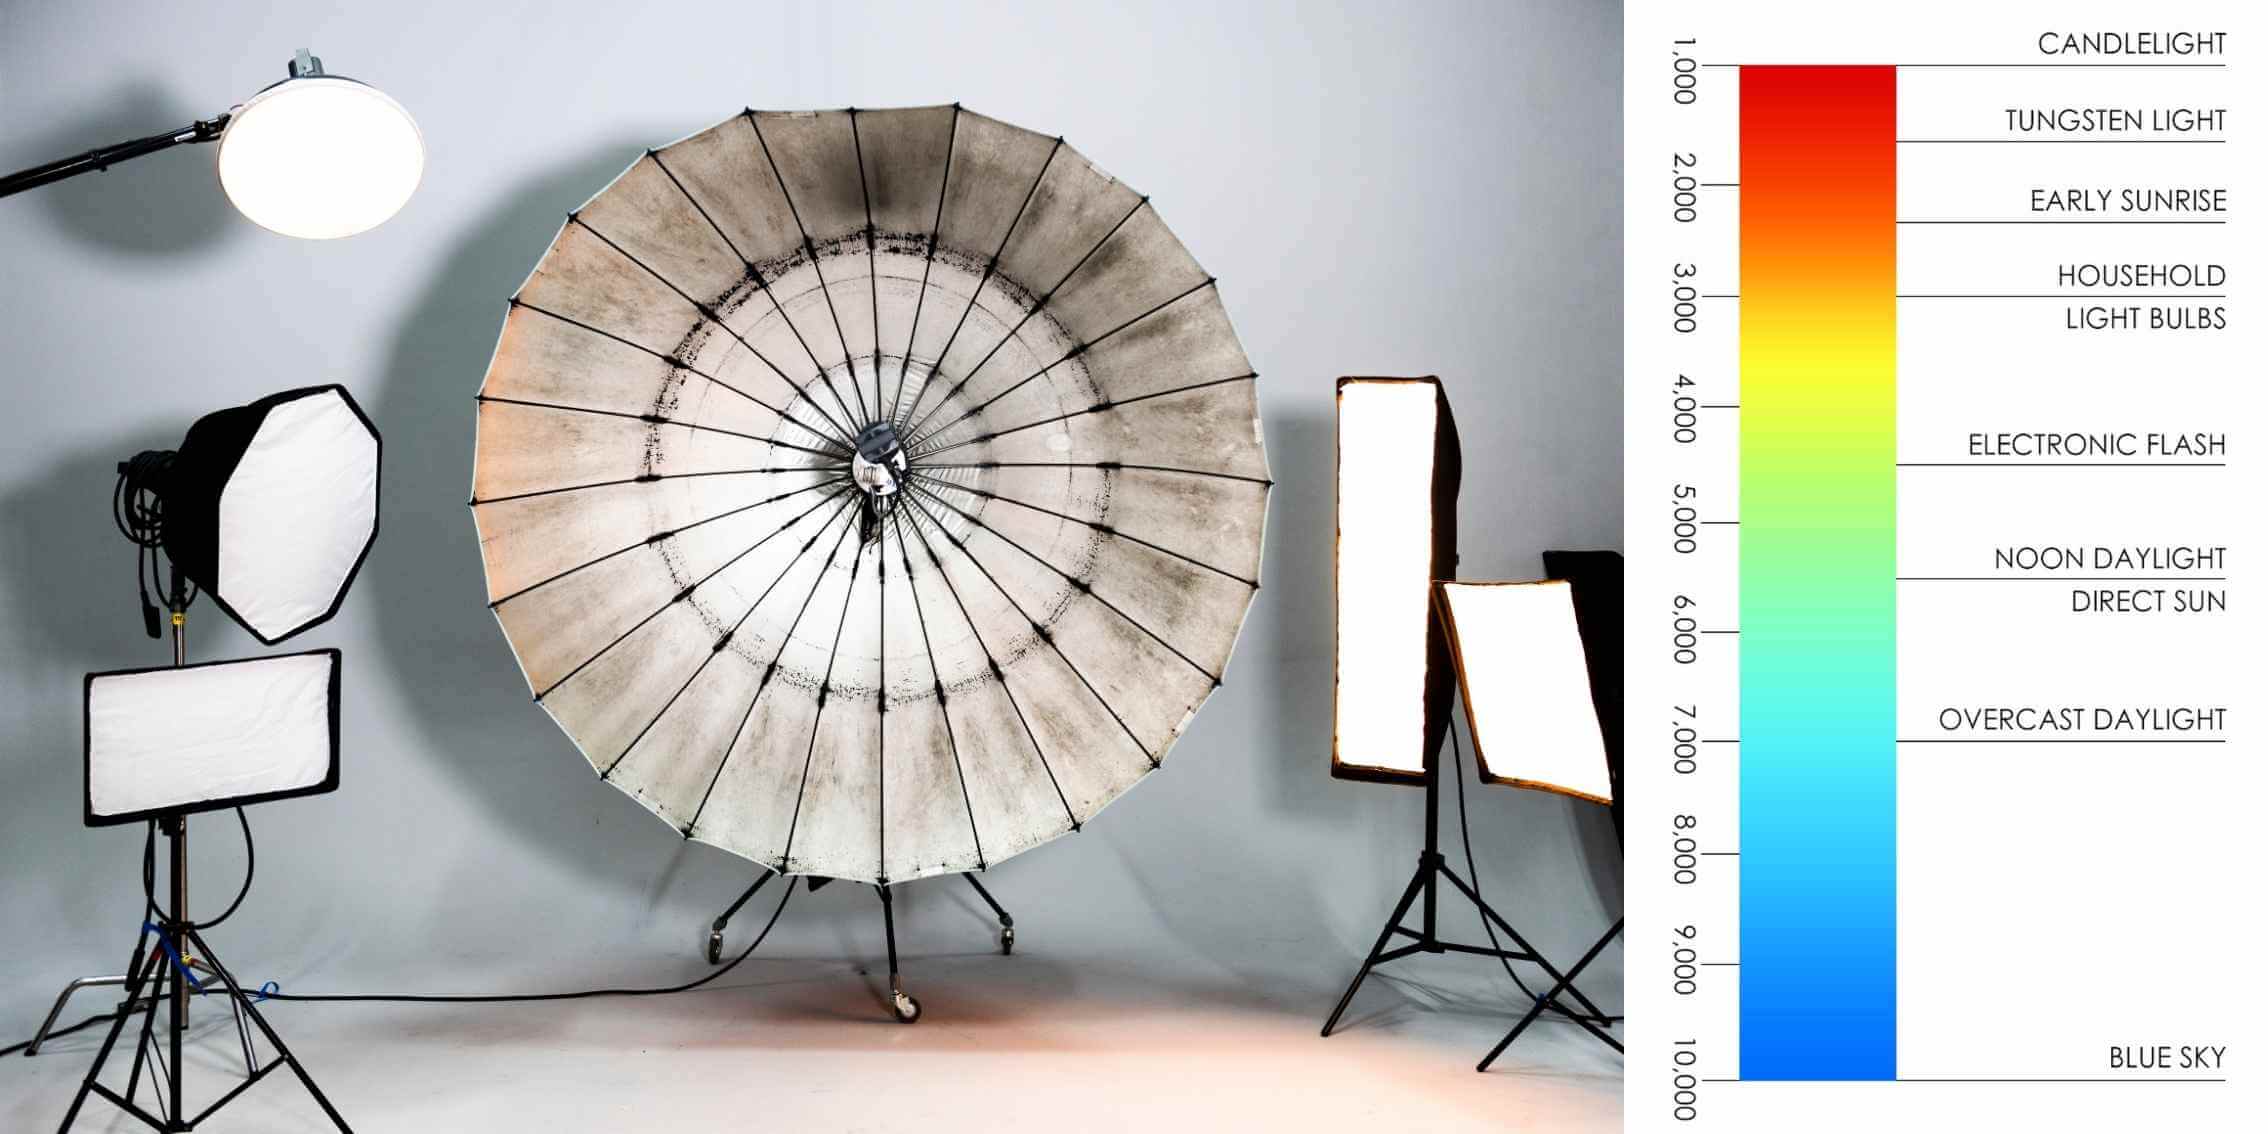
Image Source: Adobe Stock
Artificial lighting in your studio serves specific purposes and can be categorized into three key types:
This foundational layer provides general illumination, ensuring your space is evenly lit and free from harsh contrasts.
Designed for precision, task lighting focuses on specific areas, such as a workspace or shooting table, to enhance detail.
Accent lighting adds dimension and visual interest to compositions by highlighting particular features, such as props or backgrounds.
Achieving optimal studio lighting often requires a strategic blend of natural and artificial light sources:
Use artificial light to complement natural light, filling in shadows and ensuring consistent illumination throughout your space.
Integrate ambient, task, and accent lighting to create a versatile and adaptable setup that meets different creative needs.
Dimmable LEDs and smart lighting systems offer precise control over brightness and colour temperature, allowing you to adapt to changing conditions seamlessly.
Combining these approaches enhances flexibility and ensures your studio is equipped for a wide range of projects.
The ideal lighting setup varies depending on the specific needs of your studio environment:
Flexibility is key. Use softboxes and reflectors to diffuse light and create dynamic compositions, whether working with natural or artificial light.
Consistent, colour-accurate lighting is essential to avoid distorting hues. Opt for high-CRI (Colour Rendering Index) lights to faithfully represent colours.
Task lighting should take priority to reduce eye strain and maintain productivity. Adjustable desk lamps or LED panels are excellent choices.
Combine ambient lighting for overall illumination with accent lights to create a calming and motivating atmosphere. Warm-toned lights can enhance relaxation, while brighter options invigorate the space.
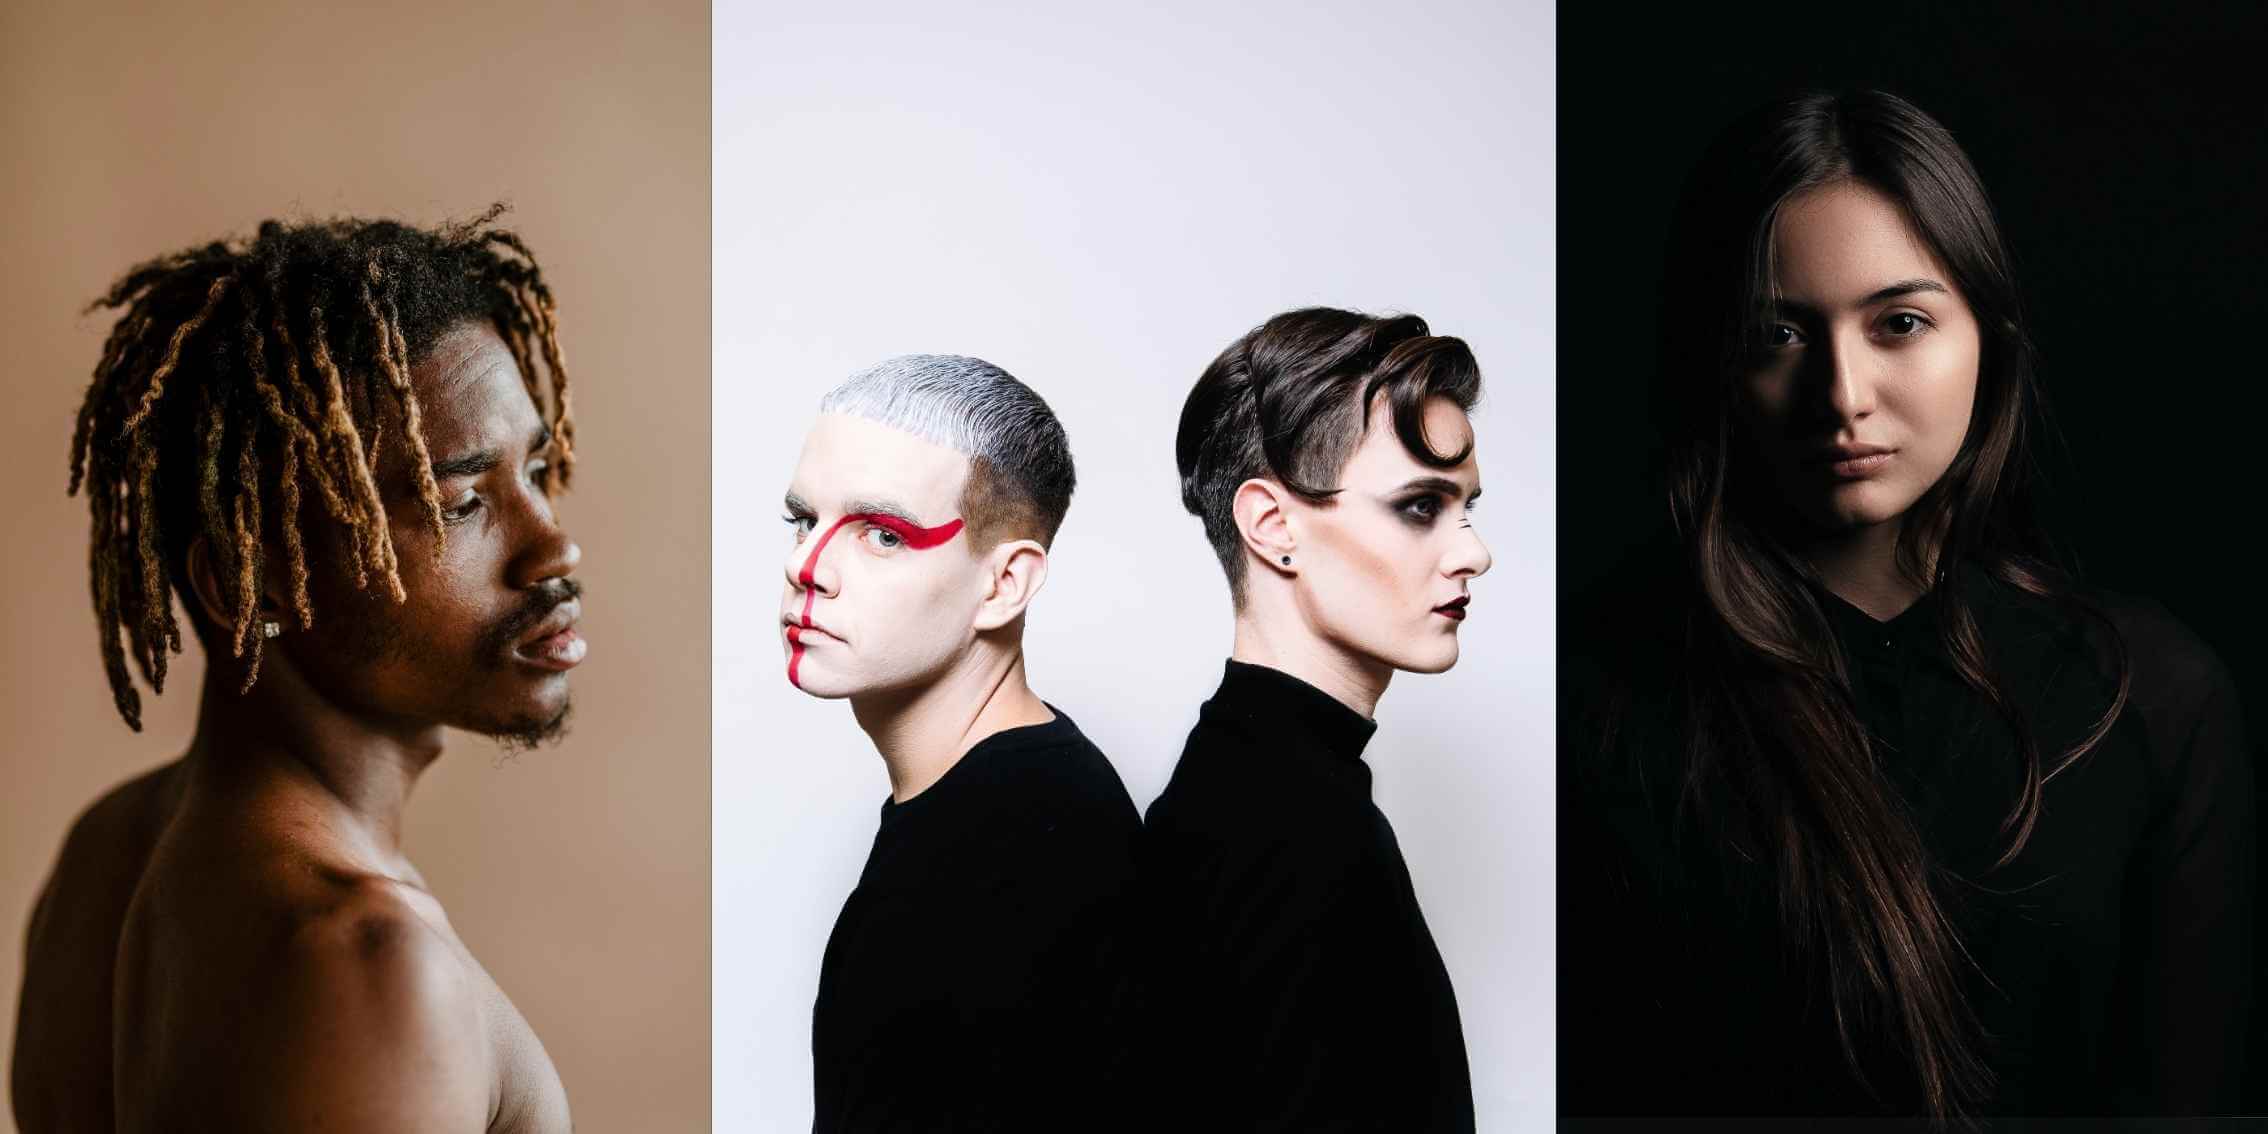
Image Source: Adobe Stock, Thibault Debaene & Kirill Balobanov - Unsplash
Designing an energy-efficient studio not only reduces costs but also supports sustainable practices:
LED lights are a top choice for their efficiency, longevity, and lower energy consumption compared to flash, incandescent or fluorescent bulbs.
Maximise the use of natural light by positioning workspaces near windows and using reflective surfaces to reduce the need for artificial lighting during daylight hours.
Install automated lighting systems that adjust brightness and colour temperature based on room usage and available natural light, enhancing convenience and sustainability.
Solely using overhead lights can create flat, unflattering illumination. Incorporate directional or diffused light sources to add depth and dimension.
Ensure critical areas, such as shooting setups or workstations, have adequate and focused lighting to enhance productivity and precision.
Always choose lights with a high colour Rendering Index (CRI) to maintain accurate and consistent colour tones, essential for photography and art studios.
By addressing these common mistakes, you can achieve a well-balanced and professional lighting setup tailored to your studio's needs.
The quality and tone of lighting dramatically influence the ambiance of your studio:
Ideal for creating a cosy, welcoming atmosphere, often used in relaxation-focused spaces like yoga studios or lounges.
Enhances focus and precision, making it suitable for tasks requiring attention to detail, such as photography or artwork creation.
Use adjustable lighting solutions to easily switch between moods, allowing your studio to adapt to different activities or creative needs.
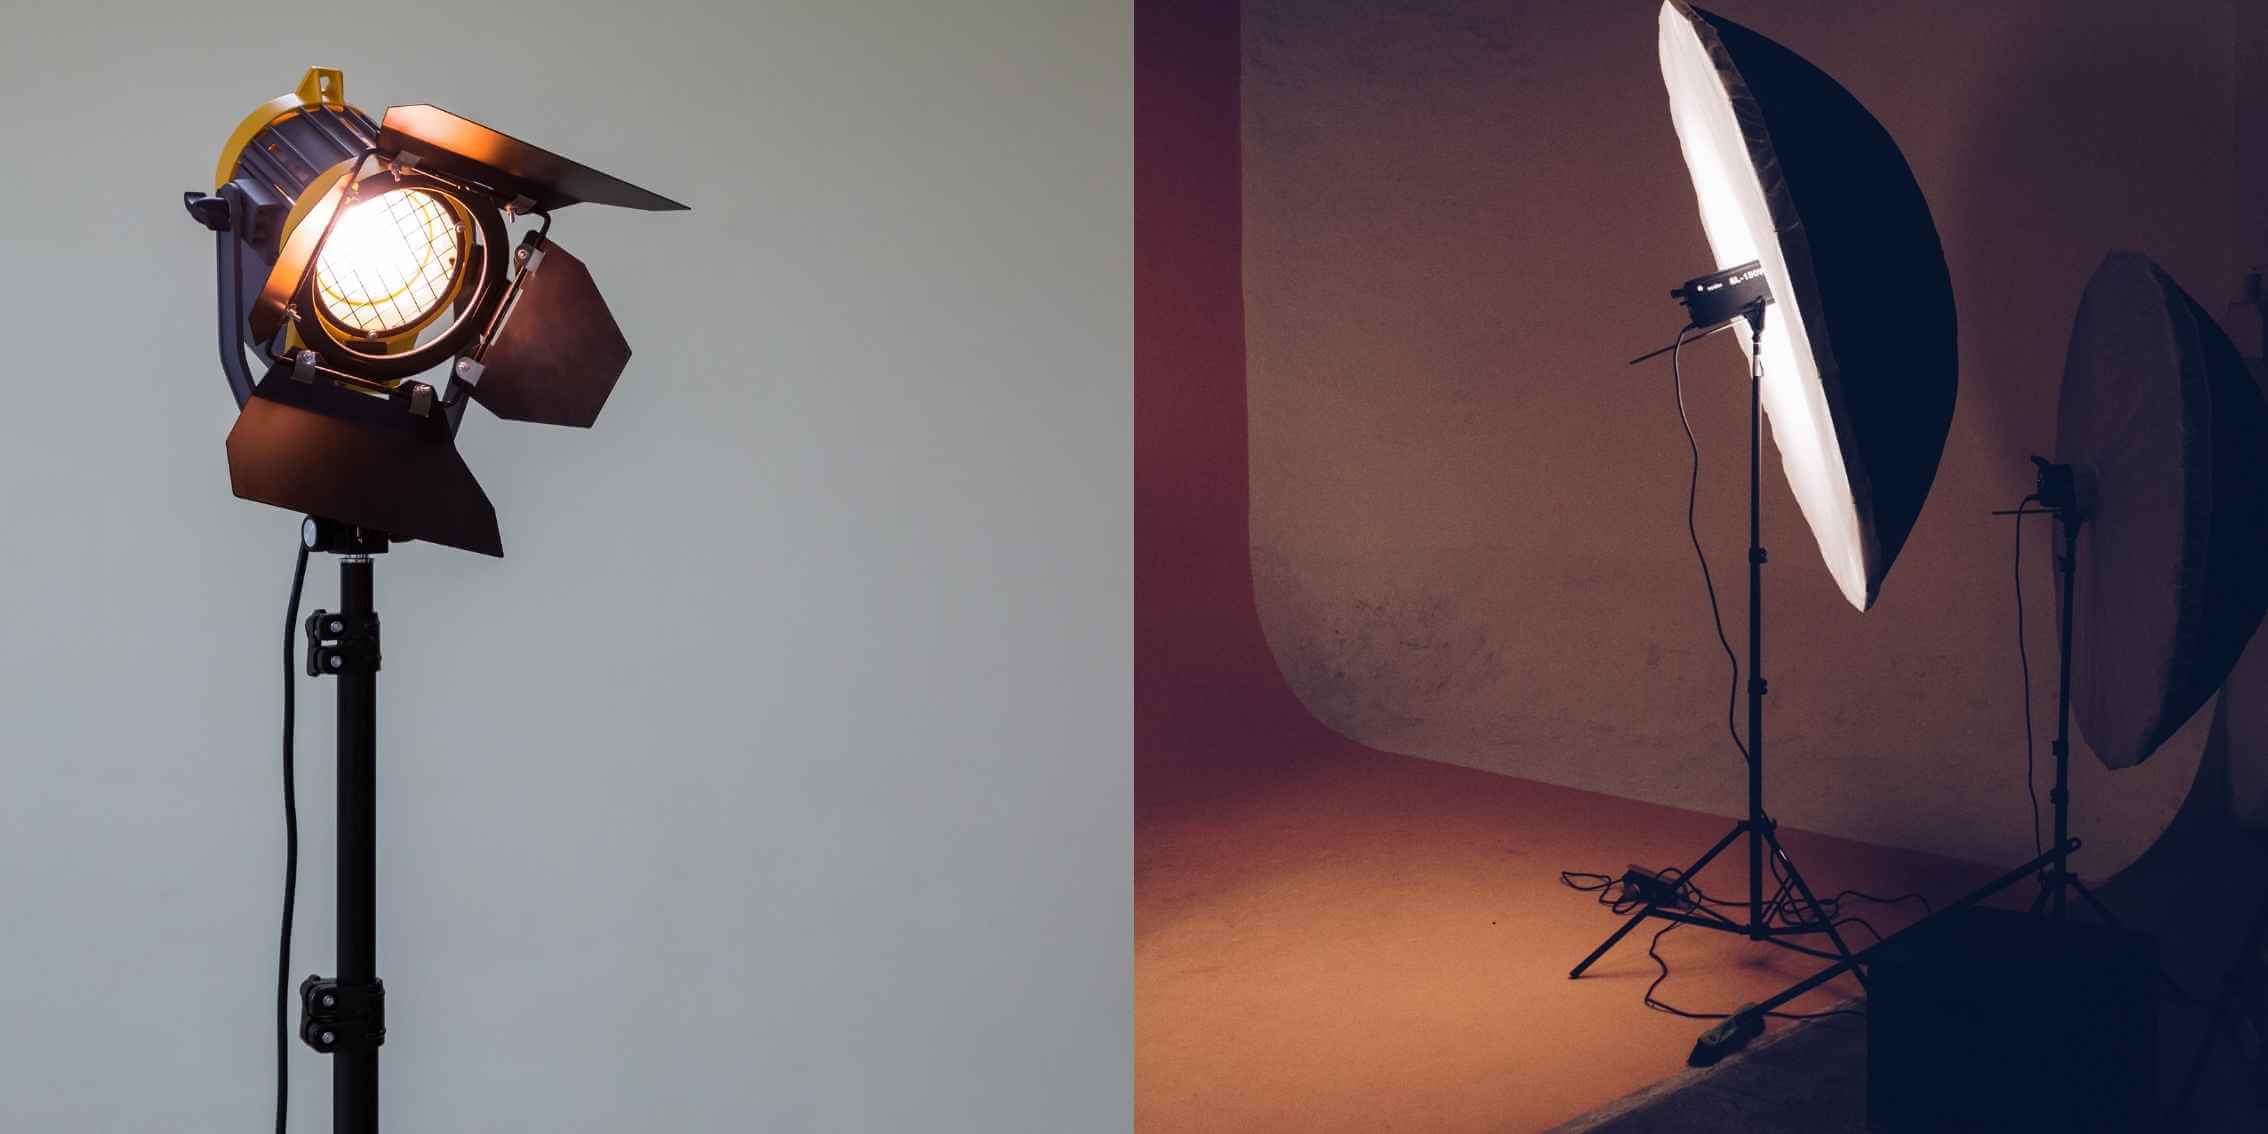
Image Source: Adobe Stock & William F. Santos - Unsplash
Take note of existing natural light sources, window orientations, and how light interacts with your studio layout. This assessment helps you identify areas that need enhancement.
Begin with essential lighting tools, such as a basic light source and modifiers, and expand your setup as your studio’s needs grow.
Utilise architectural features like windows, high ceilings, or reflective white walls to optimize light distribution and reduce the need for additional fixtures.
The fastest way to learn how to master artificial lighting is to reproduce one of your favourite naturally lit images in the studio or workspace. You need to be selective and choose subjects that suit being photographed in a studio, and not Niagara Falls, for example. I suggest starting simply with inanimate objects since you need to make lots of mistakes and repeat the exercise over and over until you get it right. Portraits of friends and family also work, but eventually, they will hide when they see you coming, so be forewarned.
Natural light is often extremely nuanced, with many random reflections and mixtures of direct and indirect light, which creates interesting highlights and shadows. Attempting to reproduce these effects is a most powerful learning experience. Not only will your lighting skills improve, but so will your ability to evaluate the lighting qualities that affect images. You will also learn patience, which is a quality that most of us lack these days.

Image Source: PI Course Author & Tutor - www.georgeseper.com
It is important to be a perfectionist in this endeavour and to accept failure, as you refine your technique repeatedly. At its best, failure will be looked upon differently after these experiences, and one often comes to appreciate the wins rather than focus on the losses. This is an invaluable personal quality to nurture and should positively impact your photography, as well as your life in general.

Photography Tutor at The Photography Institute
Internationally respected, George Seper has been photographing food for over 30 years. He is the longest continuous contributor to Vogue Entertaining and Travel, who recently commissioned him to photograph their 30th Anniversary cover among other features.
Published:
Studio lighting is an art and a science, requiring a balance of creativity and technical understanding. Whether you prefer natural light's dynamic qualities or artificial setups' precision, mastering studio lighting photography can transform your work.
The Photography Institute’s comprehensive online course dives deeper into studio lighting photography tips, offering in-depth lessons on optimising lighting for every type of studio and creative need. With expert guidance and practical modules like Module 10: Photography Business & Studio Essentials, you’ll gain the knowledge and confidence to craft stunning, versatile lighting setups tailored to your artistic vision.
Ready to elevate your photography? Enrol today and discover how to harness light to bring your creative vision to life.